Stata Installation Guide for Mac
Running the installation
1. After you have launched Install Stata, you will be greeted with the following screen.
Read the Stata 17 requirements to confirm that your hardware and system is compatible with Stata 17.
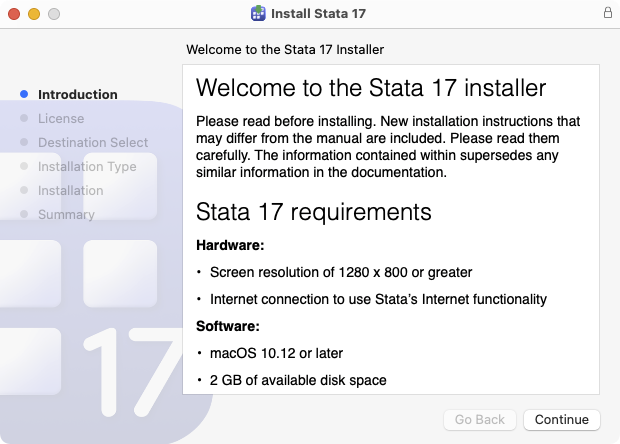
Click on Continue.
2. Read the Software License Agreement. You will have the option to save or print the instructions if you wish to do so.
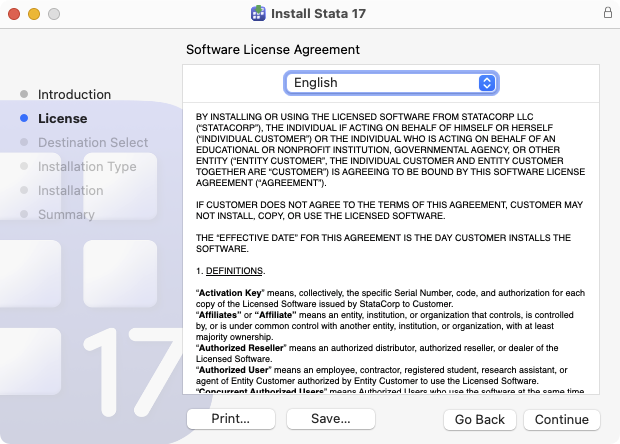
Click on Continue.
3. Stata will ask you if you agree to the terms of the Software License Agreement.
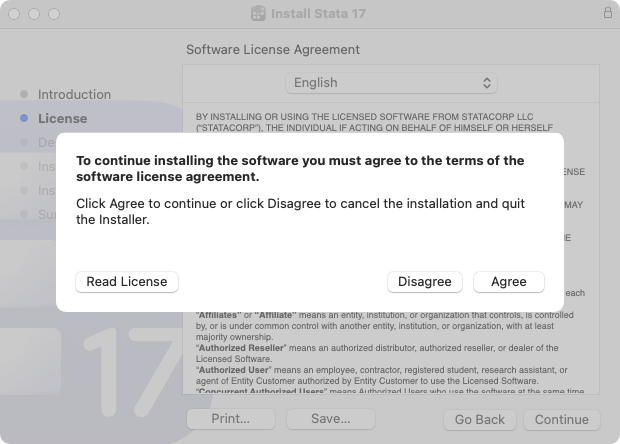
Click on Agree to accept the agreement and continue with the installation.
4. Refer to your License and Activation Key. Confirm which version of Stata you purchased to install.
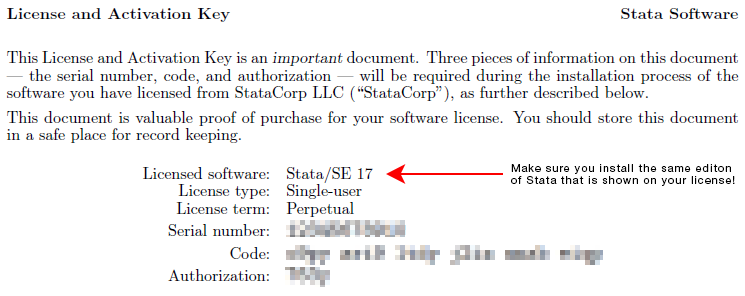
Check which version of Stata you want to install. It must match the version that is on your License and Activation Key.
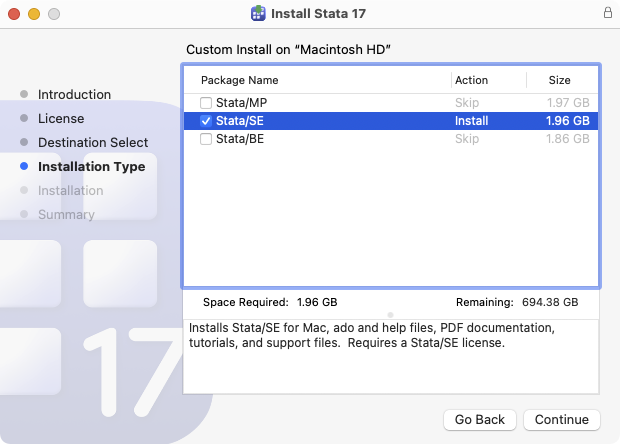
With your selection made, click on Continue.
5. The next screen will confirm where the Installer will install Stata, and it will tell you how much disk space the installation will take.
Confirm that your system has this amount of space available.
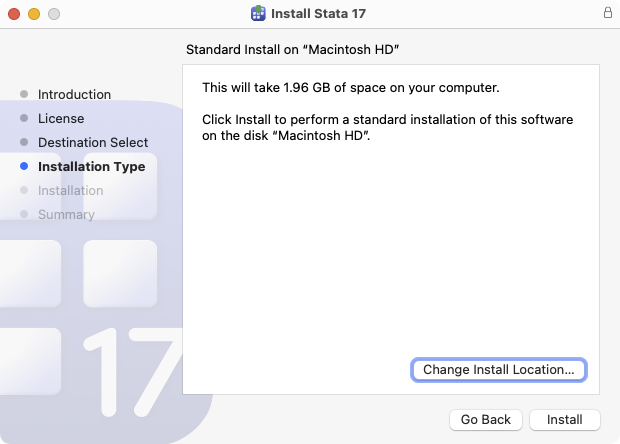
Click on Install to proceed with the installation.
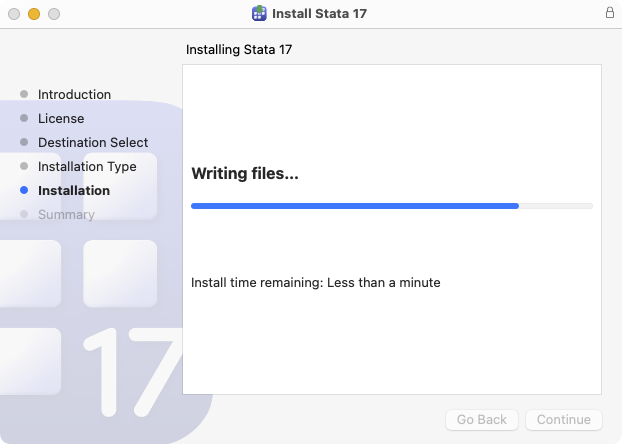
6. The Installer is now installing Stata 16. This may take a few minutes.
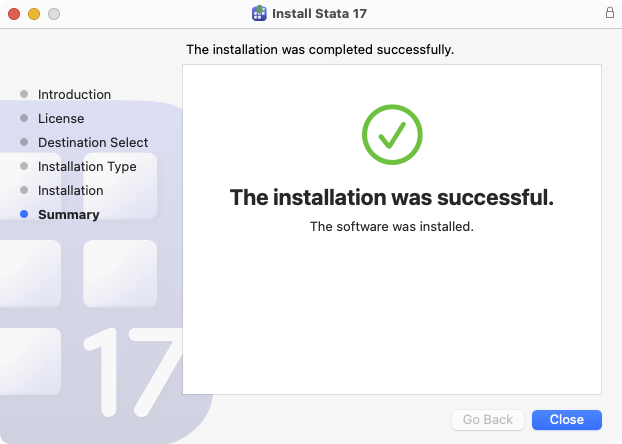
7. The installation is complete!
Click Close to finish the installation and close the Installer.